
/ KNOWLEDGE · DESIGN
Threaded Inserts for Plastic Parts: Mould In or Install?
Threaded inserts for plastic parts give two of the three ways to make a thread, and most drawings do not say which one the designer meant. A brass insert can be moulded in, an insert can be installed after moulding by heat or ultrasonics, or a screw can be driven straight into a plain boss. The choice changes the tool, the cycle, the reject risk and the piece price, so a moulder left to guess may price the wrong method. This page compares them for an enclosure, terminal cover or housing. How an insert is held in the tool is in our insert moulding guide.
First question: how often does it come apart?
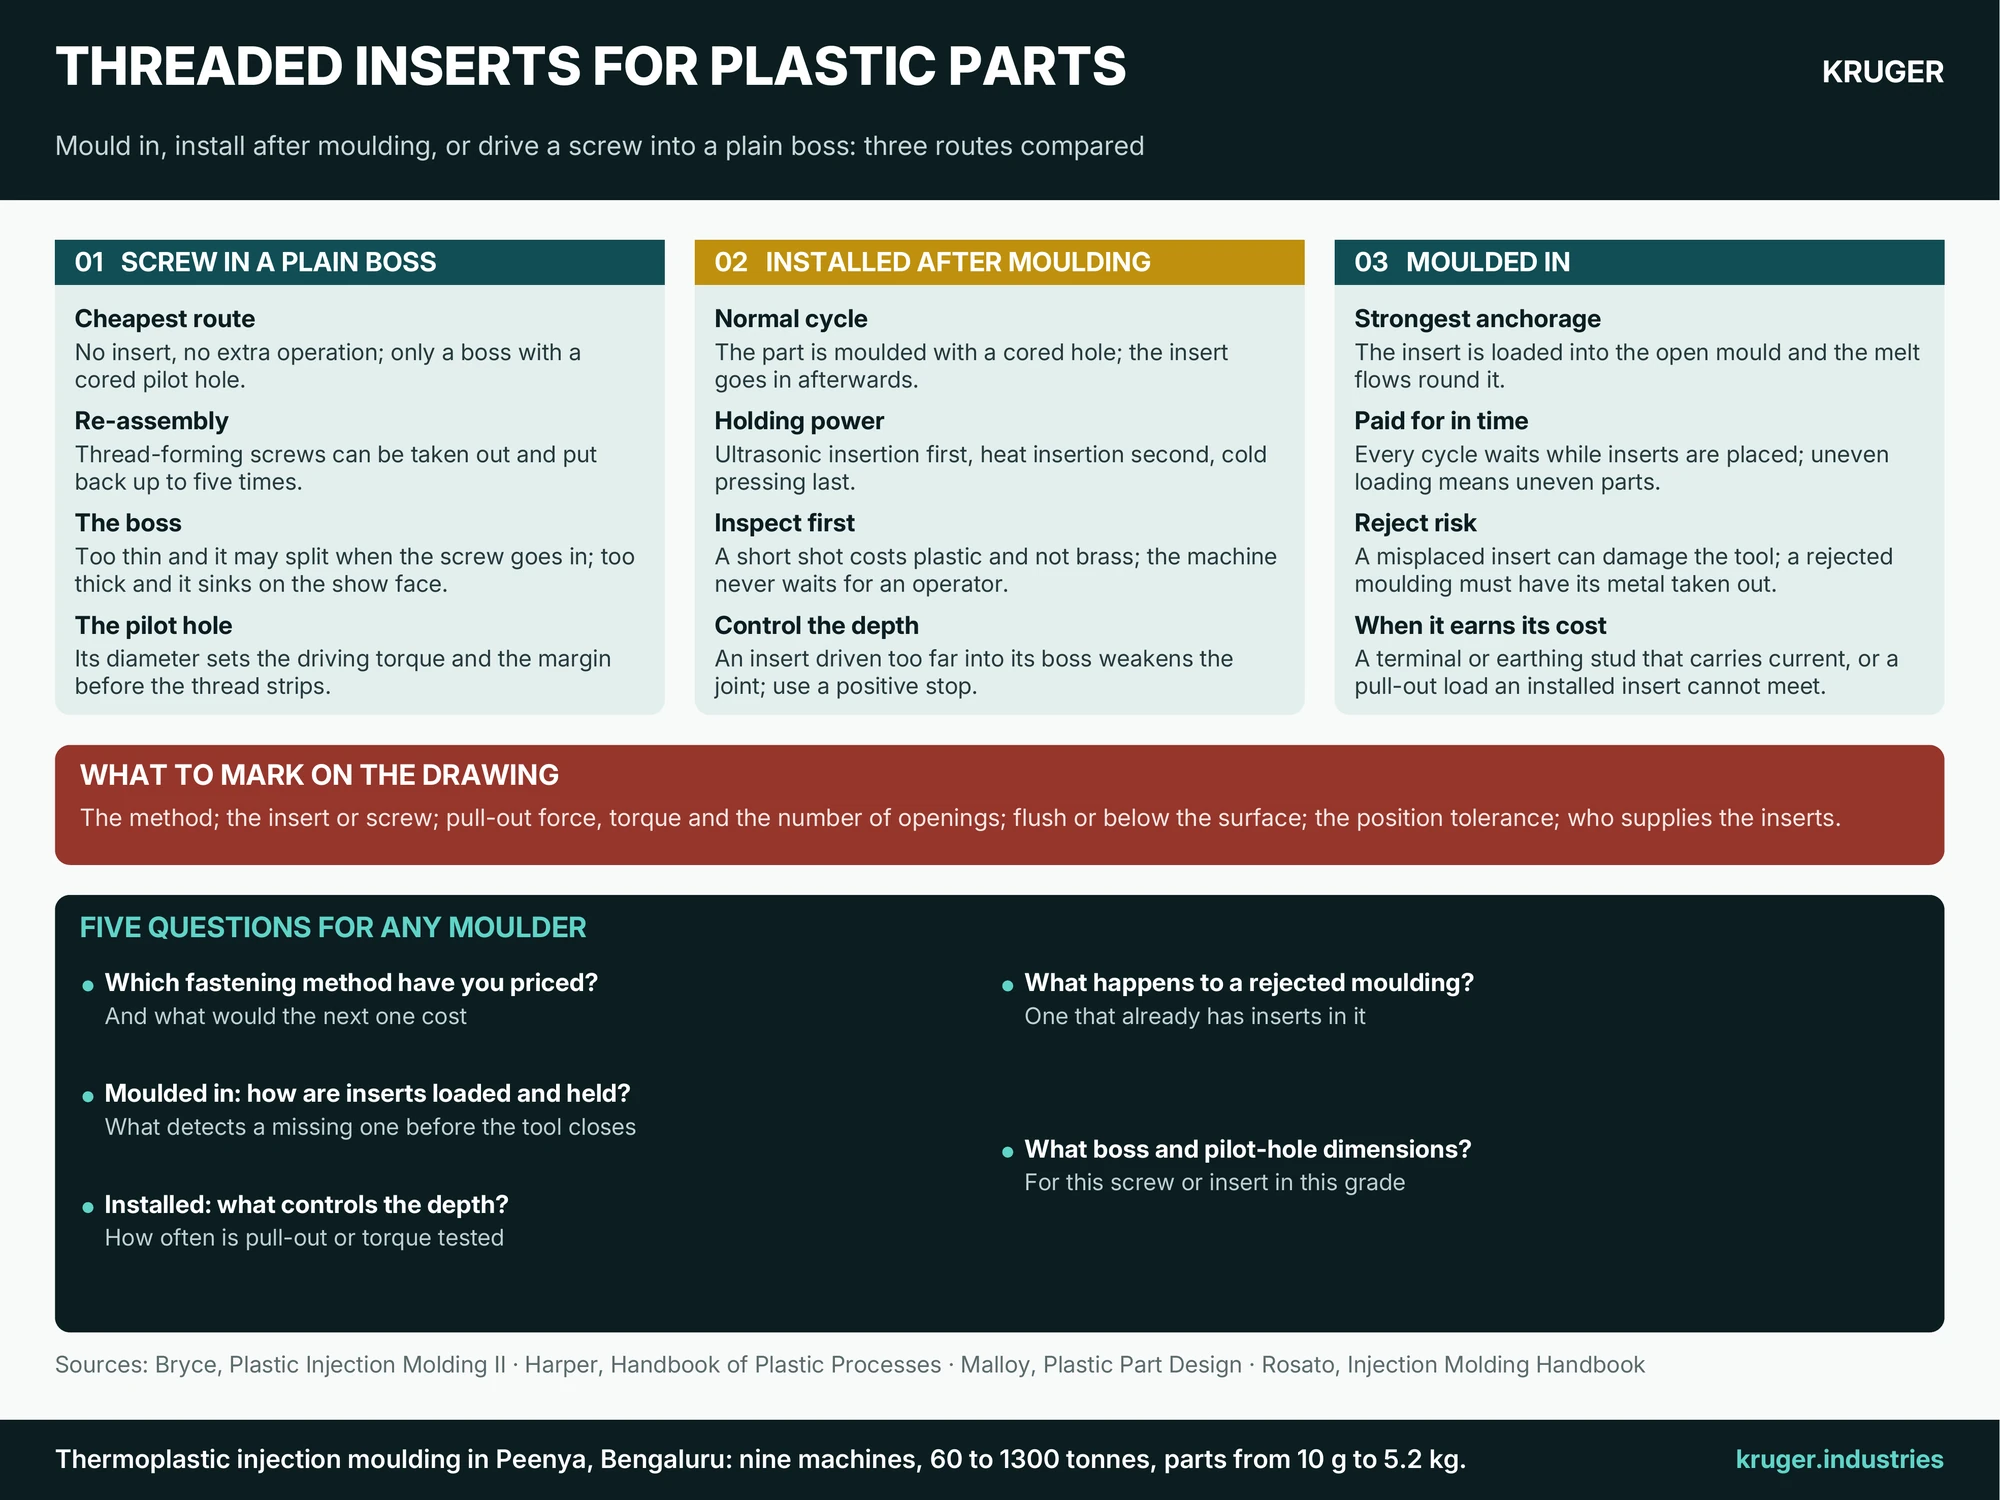
A screw driven into plastic makes its own thread, and that thread wears. Harper’s handbook puts a number on it: the common thread-forming screws can be taken out and put back up to five times. A cover closed once can live with that. A terminal cover opened at every inspection cannot. That is the case for a metal thread: an insert takes a machine screw, which can be refitted repeatedly, and it carries loads a plastic thread would not.
Route 1: a screw into a plain boss
The cheapest route: no insert, no extra operation, only a boss with a cored pilot hole. A thread-forming screw pushes the plastic aside, which suits the softer, more ductile thermoplastics and stresses the boss, so the usual failure is a cracked boss. In harder grades a thread-cutting screw removes material instead and stresses the boss less, but it can cut a fresh thread every time it is refitted.
A thin boss hides the sink mark on the show face but may split when the screw goes in, and a thick one does the reverse; our design for mouldability guide gives the proportions we work to. The pilot-hole diameter sets both the torque needed to drive the screw and the margin left before the thread strips, so name the screw on the drawing and the core pin can be sized to it.
Route 2: an insert installed after moulding
The part is moulded on its normal cycle with a cored hole, and the insert goes in afterwards. Of the three ways of doing it, ultrasonic insertion generally holds best, heat insertion next and cold pressing least. A cold-pressed insert needs little equipment, but it holds only fairly and stresses the plastic round the hole. A heated insert softens the plastic, which flows into the knurls and locks as it cools; an ultrasonic horn melts it the same way by vibrating the insert.
The moulding can be inspected before any metal goes into it, so a short shot costs plastic and not brass, and the machine never waits for an operator. The discipline is depth: an insert driven too far into its boss weakens the joint, so the process needs a positive stop.
Route 3: an insert moulded in
Here the insert is loaded into the open mould and the melt flows round it. This gives the strongest anchorage, and it is paid for in time: every cycle waits while the inserts are placed, and uneven loading means an uneven cycle and uneven parts. A misplaced insert can damage the tool, a missing one means scrap or rework, and a rejected moulding must have its metal taken out before the plastic is reground. Rosato’s handbook goes as far as saying that moulded-in inserts “usually prove costlier” in the long run.
We do not go that far. In our view moulding in earns its cost when the insert does more than hold a screw: a terminal or earthing stud that carries current, or a pull-out load that an installed insert cannot meet. A vertical machine is the usual choice for this work, and it is why we keep one. Leave enough plastic round the insert that it does not crack as it shrinks onto the metal, without breaking the rules in our wall thickness guide.
Threaded inserts for plastic parts: the three routes side by side
- Strength. Moulded in is highest; then ultrasonic, heat and cold-pressed inserts in that order. A plain boss is weakest.
- Re-assembly. Repeated with an insert; a handful of times with a screw in plain plastic.
- Cycle time. Moulding in adds loading to every cycle. An installed insert adds an operation after it. A plain boss adds nothing.
- Reject risk. Moulding in puts the tool and the metal at risk on every shot. Installing afterwards lets you inspect first. A plain boss moves the risk to your assembly line.
What to mark on the drawing
- The method. “Moulded in”, “installed after moulding” or “screw direct into boss”. If you are open, write “moulder to propose”.
- The hardware. Insert thread, length, material and the maker’s part number, blind or through; for a plain boss, the screw type and size.
- The duty. Pull-out force, torque, and how many times the joint will be opened.
- The position. Flush or below the surface and by how much, with a position tolerance.
- The supply. Whether you issue the inserts or the moulder buys them.
Five questions for any moulder
- Which fastening method have you priced, and what would the next one cost?
- For moulded-in inserts, how are they loaded and held, and what detects a missing one before the tool closes?
- For installed inserts, what controls the depth, and how often is pull-out or torque tested?
- What happens to a rejected moulding that already has inserts in it?
- What boss and pilot-hole dimensions do you want for this screw or insert in this grade?
We mould inserts in on our vertical machine and fit inserts after moulding as a secondary operation. Send the drawing through our RFQ page with the fastening method, the insert or screw, the loads, the number of openings and the annual volume. If you have not decided, say so and ask for two routes to be priced.
Sources quoted: D. M. Bryce, Plastic Injection Molding, Vol. II: Material Selection and Product Design Fundamentals (Society of Manufacturing Engineers, 1997); C. A. Harper (ed.), Handbook of Plastic Processes (Wiley, 2006); R. A. Malloy, Plastic Part Design for Injection Molding (Hanser, 1994); D. V. Rosato, D. V. Rosato and M. G. Rosato (eds), Injection Molding Handbook, 3rd edition (Kluwer Academic Publishers, 2000).