
/ KNOWLEDGE · MOULD TRANSFER
Moving your mould to India — the transfer playbook
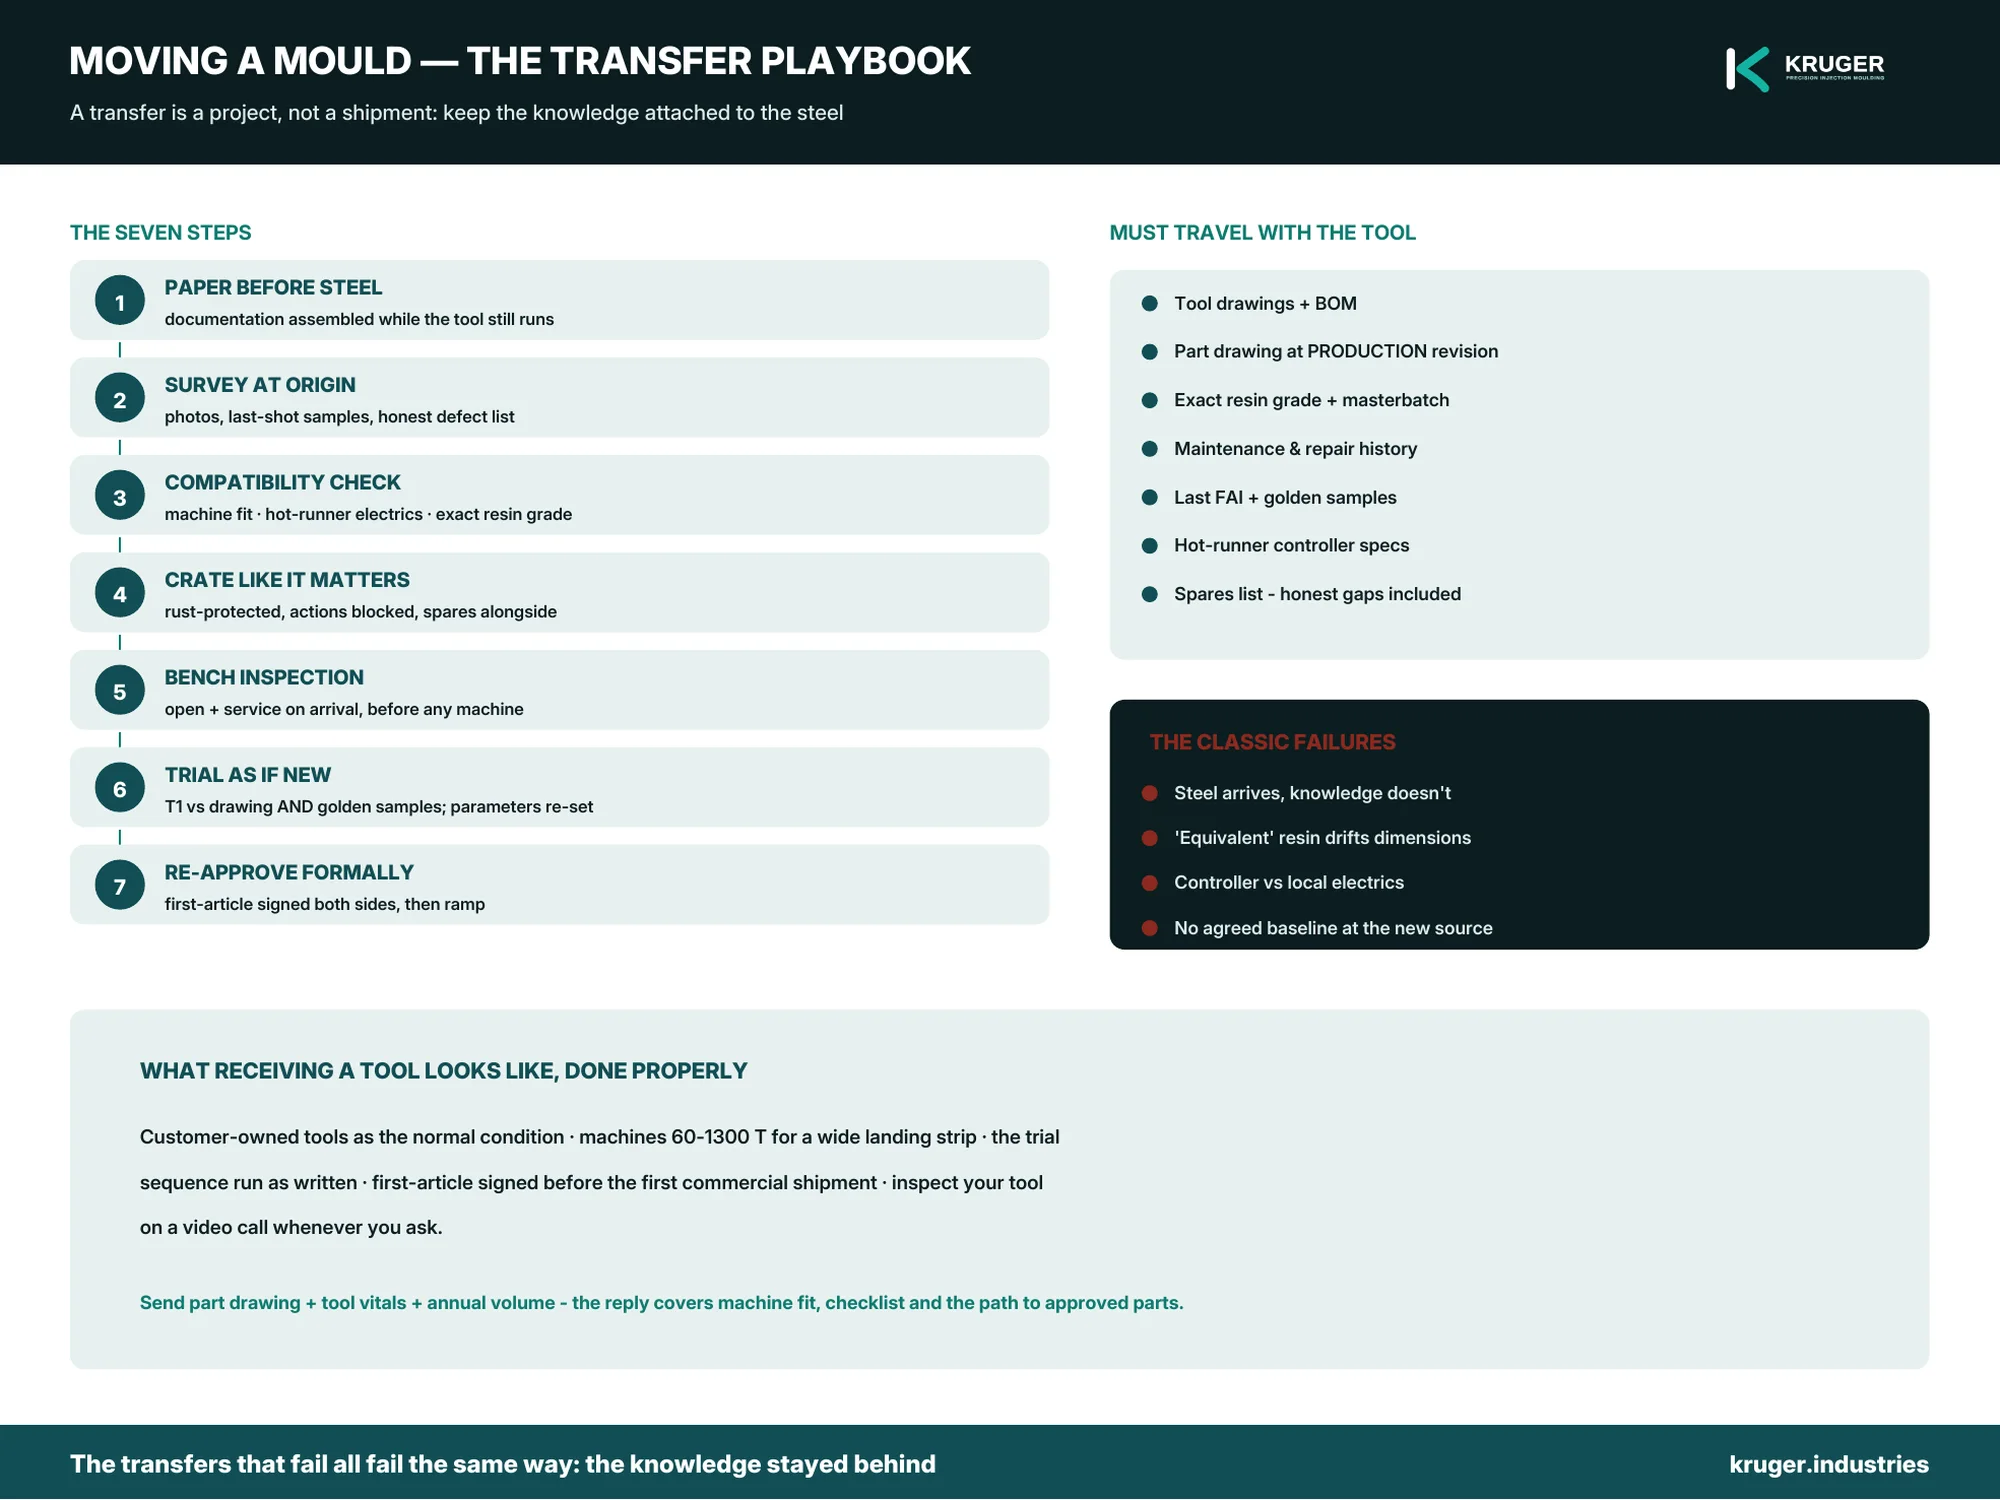
A mould transfer is a project, not a shipment. Companies move tools for sober reasons — supply-chain diversification, a supplier exiting, consolidation, landed-cost arithmetic — and the transfers that go wrong almost always go wrong the same way: the steel arrived, and the knowledge didn’t. This is the playbook that keeps the knowledge attached to the steel.
The playbook, step by step
- Paper before steel. Assemble the tool’s documentation while it is still running at the incumbent (see the checklist below). A tool that arrives before its paperwork is a puzzle; after, a machine.
- Condition survey at origin. Photographs of every face, last-shot samples saved, known defects and repairs listed honestly. A worn tool can absolutely be transferred — an undocumented worn tool cannot be quoted.
- Compatibility check before shipping. Machine fit (tie-bar spacing, mould height, clamp force — our clamp calculator gives the tonnage), hot-runner controller compatibility with the destination’s electrical supply, and the resin: confirm the exact grade is available locally or plan the import.
- Crate like it matters. Waterproofed, rust-protected, actions blocked, accessories and spares in the same crate as their tool, everything photographed into the packing list.
- Bench inspection on arrival. Open, inspect against the origin survey, service — before the tool ever sees a machine.
- Trial as if the tool were new. T1 on the destination machine with the specified resin; parts measured against the drawing AND against the last-shot samples from origin. Process parameters re-established and recorded — the origin’s settings are a starting hint, not a recipe, because the machine changed.
- Re-approve formally. A first-article report at the new source, signed both sides, then ramp. The programme’s history restarts with a clean baseline.
The documentation that must travel
- Tool drawings and BOM — including standard components, so spares can be sourced
- Part drawing at the revision actually in production (not the revision in the archive)
- Resin specification with the EXACT grade name, plus colour/masterbatch details
- Maintenance and repair history; known wear points
- Last first-article or inspection report + physical “golden” samples from the final runs
- Hot-runner documentation: controller type, zones, wiring diagram
- Spares on hand — and a list of what should be on hand but isn’t
Where transfers go wrong
| Risk | What it looks like | The prevention |
|---|---|---|
| Knowledge left behind | Tool arrives, nobody can answer why the cycle was set that way | Steps 1–2: paper and survey before shipping |
| Worn tooling surprises | Flash, mismatch, short life discovered at T1 | Honest origin survey; budget refurbishment consciously |
| Resin mismatch | “Equivalent” local grade behaves differently; dimensions drift | Exact grade confirmed available — or imported for launch while equivalents are qualified properly |
| Hot-runner electrics | Controller incompatible with destination supply | Step 3 compatibility check, before shipping |
| Approval vacuum | Parts shipping with no agreed baseline at the new source | Step 7: formal re-approval against drawing + golden samples |
Restoring Production Under Pressure
When a new customer imported a mould following successful T0 trials at the manufacturer’s facility, the project appeared ready to move into production. Because timelines were critical, a minor correction was made after the trials, and the mould was airlifted immediately to Kruger.
However, during the receiving trials at Kruger, the team identified a workmanship-related flaw in the modified area. The mould could not produce components to the quality and dimensional requirements expected by the customer.
Recognising the urgency of the situation, Kruger acted immediately. The affected section of the mould was redesigned, and corrective work began on a war footing. Kruger’s engineering and tool-room teams worked closely with the customer’s engineering team throughout the process, ensuring that every change was reviewed and approved in real time.
Within one week, the correction was completed, the mould was successfully validated, and production commenced. By combining technical expertise, close customer collaboration, and rapid execution, Kruger ensured timely supplies and helped the customer avoid a potentially costly disruption to its production schedule.
The playbook above exists for exactly this moment — the receiving trial is where step 6 earns its keep.
What receiving a tool looks like here
Customer-owned tools are our normal condition — every mould in our plant belongs to the customer who paid for it, is maintained on a schedule, and can be inspected on a video call whenever you ask. Machines from 60 to 1300 tonnes give an incoming tool a wide landing strip, our engineers run the trial sequence above as written, and the first-article report is signed before the first commercial shipment. The tooling guide covers the ownership terms in full.
Thinking about a transfer?
Send the part drawing, the tool’s vital statistics (cavities, size, weight if known) and the annual volume. The reply covers machine fit, the documentation checklist tailored to your tool, and a realistic path to first approved parts. Request a quote.